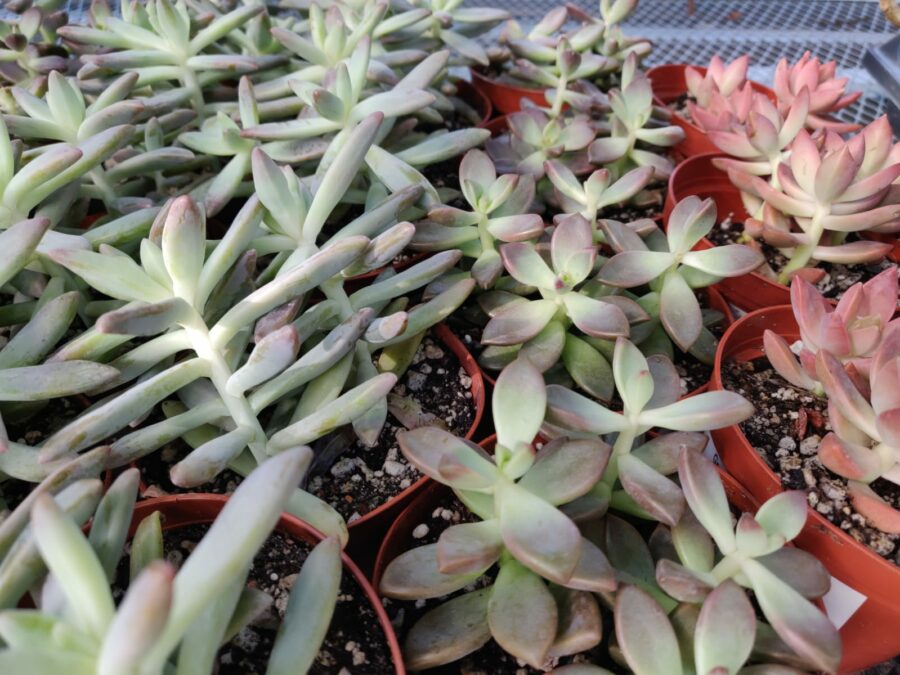
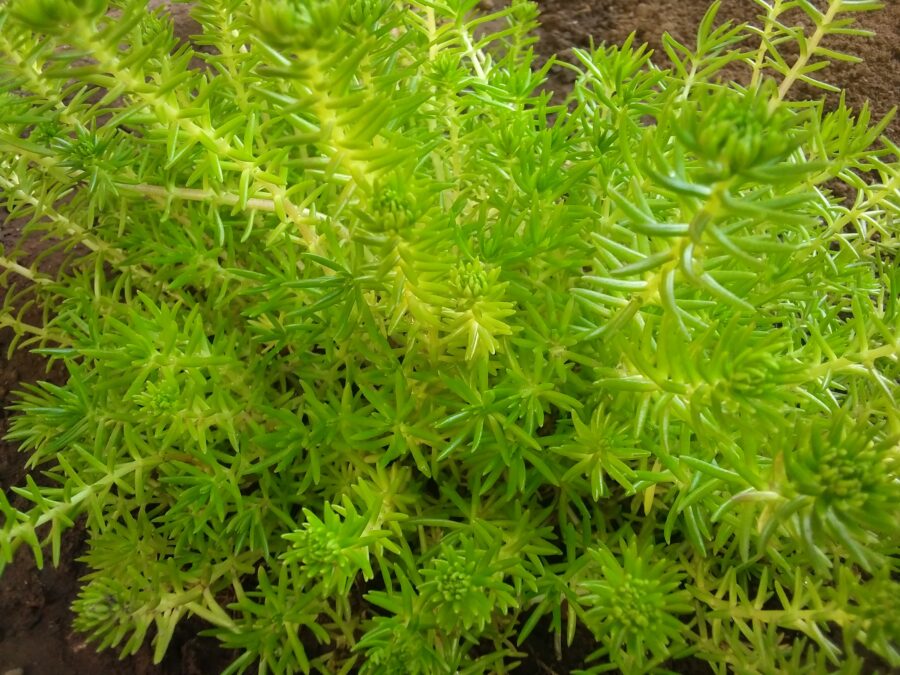
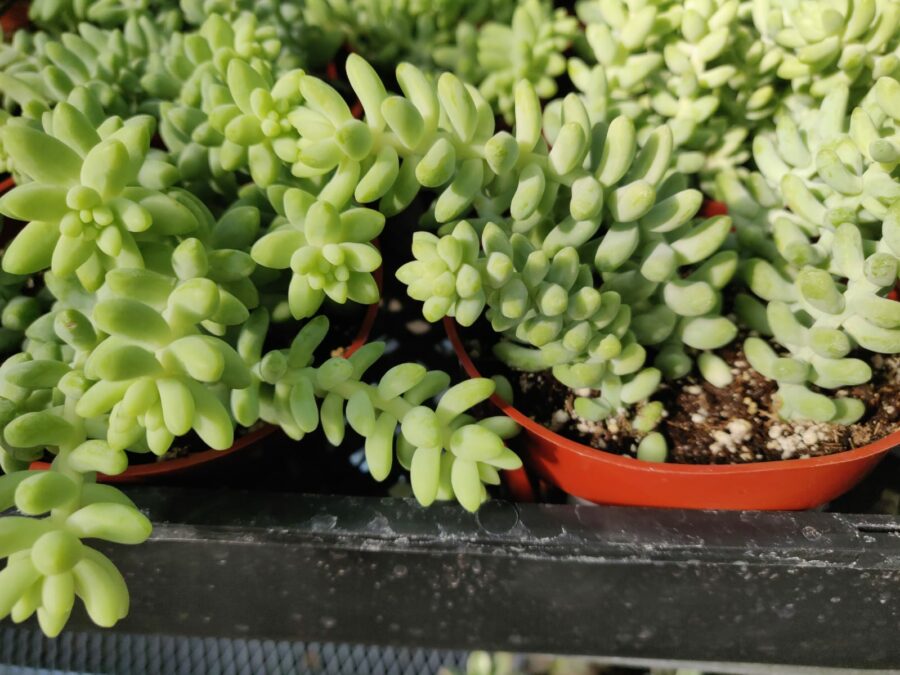
Sedums, commonly known as stonecrops, are a group of attractive green, purple, blue, and sometimes brown, fleshy plants. Similar to most succulents, they can tolerate a wide range of harsh conditions, but they still need a certain level of care from time to time to encourage healthy growth.
There are various types of this species, but they’re all divided into two categories: low growing and upright growing sedums. The low-growing variety often flourishes and spreads like a carpet, making them ideal ground cover plants. And the upright sedums form tall, hardy stems that produce small reddish-pink or yellow star-shaped flowers.
So, if you’ve been wondering about the best methods of taking care of this low-maintenance plant, this post is for you! I’ll share in-depth and uncomplicated techniques to ensure you cultivate (and care) your sedums for a continuous healthy plant cycle.
In this Article
Sedum Plant Care
Here are optimal growing and caring requirements for sedum plants.
Soil Requirements
Like most succulents, proper drainage is vital for sedum plants. The perfect soil for the plant to thrive is loamy sand with a slightly alkaline ph.
Water
Sedums are drought-tolerant, so they can survive a couple of days without water. Their leaves store moisture, so if you have to travel and leave them unattended, they can hold off. These plants don’t like wet feet, so if you do water them, make sure you allow the water to drain thoroughly.
You can water them once a week during spring and summer and once a month during winter. Overwatering leads to root rot which leads to mold build-up. So, make sure to check the soil first. If it feels dry to the touch, give them a good drink.
Fertilization
Who doesn’t love lush leaves growing generously from their sedum plants? I know I do! To fertilize, you can use organic liquid or slow-release pellet fertilizer and feed the plants once in early spring.
Light And Temperature
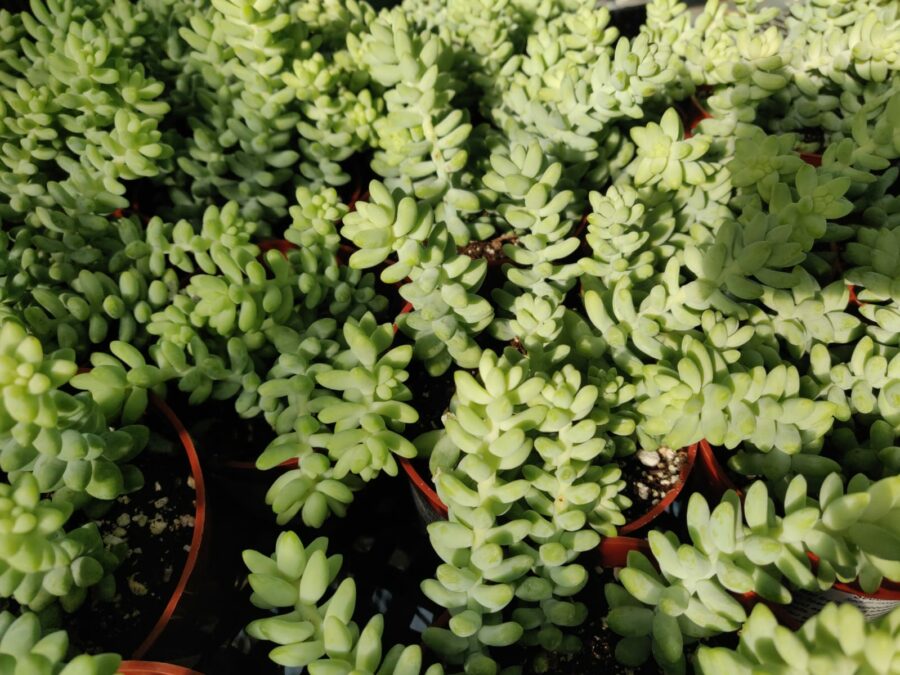
One aspect of having happy sedum plants throughout the season is by providing them with full sun. Furnish the plant with at least six hours of direct sunlight to help maintain its beautiful colors. If you live in an area that experiences harsh noon sun, then you can position the plant in an area that receives partial shade during the afternoon.
Pruning
If your plants are spilling uncontrollably in a pot with a few withered leaves, or you want to remove sedum flowers but still keep the leaves growing, then it’s time to prune your plant. To prune, take clean scissors or pruning shears, and snip off the flowers or withered leaves you’d like to get rid of.
Propagating Sedum: 3 Simple Methods
Growing an abundance of this plant is easy by propagation. The best time to propagate your plant is during the growing season-spring. Here are three ways of propagating the sedums.
Method 1 – Propagating A Rooted Piece In the Garden
- Identify the portion of the mother plant you’d like to propagate.
- Using a small garden fork, dig out the rooted piece.
- Find an area in your garden that you’d like to encourage new growth.
- Dig a hole and place the plant.
- Cover with soil, ensuring you haven’t buried any leaves, and then water well
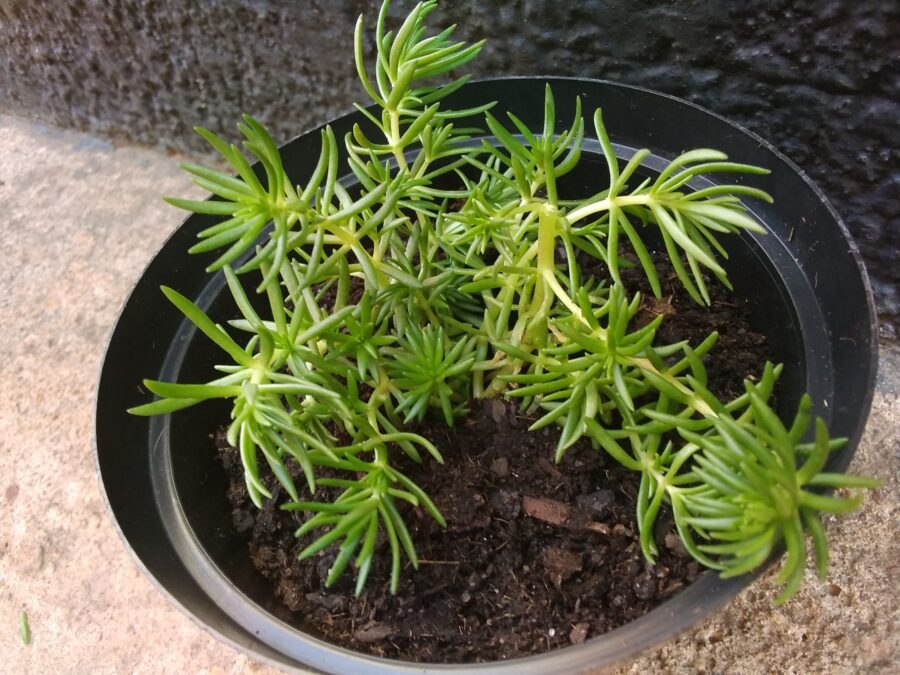
Method 2 – Propagating A Rooted Piece In a Pot
Keeping the plants in a pot is a lovely way of encouraging more plants inside your house. Here’s how to propagate in pots.
What you’ll need:
- Cactus potting soil
- Plant pot
- Small garden fork
Steps:
- Pour the soil into the container.
- Identify the portion of the mother plant you’d like to propagate.
- Using the fork, gently dig out a rooted piece, either from a potted plant or garden. If the leaves are firmly connected, gently separate them with your hands.
- Put the plant in the container, and tuck the soil around it.
- Water well and let the water drain entirely through the pot.
- Place the container in a sunny area
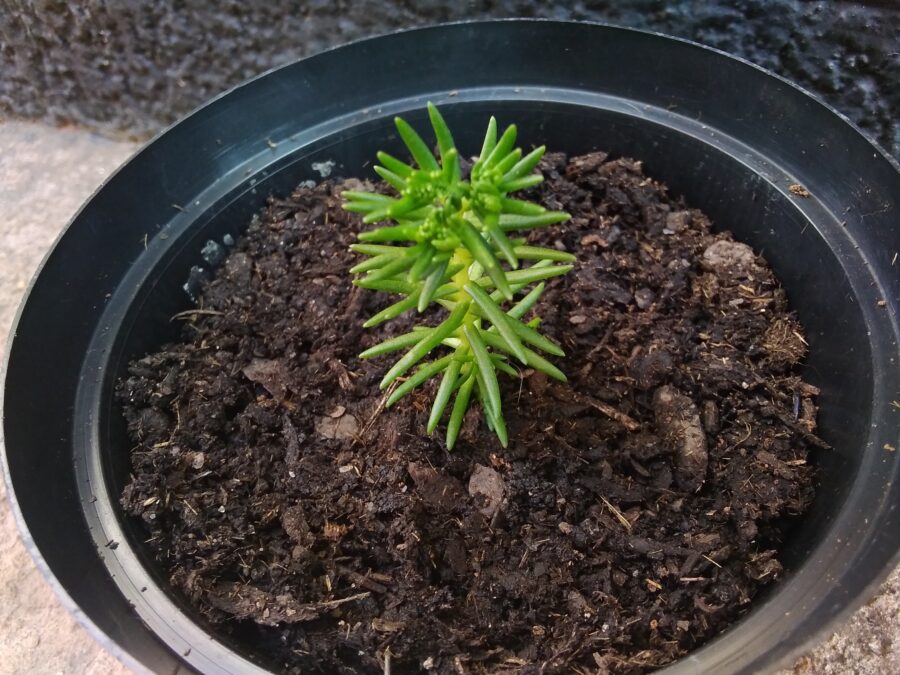
Sedum plant in pot
Method 3 – Propagate a Stem Cutting
Cut off an inch or two of one to three cuttings, and follow the guide below:
- Remove the lower leaves.
- Leave the cuttings in an area with indirect sunlight and allow the cut-off part to be callous for a few days.
- Once calloused, place the cuttings in a potting mix.
- Place the plant in an area that receives full sun.
Sedum cutting in a pot
Common Problems With Sedum Plants
Though sedums are resistant to most pests and diseases, they do experience rot when overwatered. Below is an explanation of this common problem and how to deal with it should you experience this dilemma.
Root Rot
Waterlogged soil with limited drainage is often the cause of rot. This is because the plant’s roots get deprived of oxygen, potentially leading to mold build-up.
How To Fix
If you touch your plants and they don’t feel firm, and they’re browning, then you have a case of rot. Follow these steps to eradicate the problem.
- Gently dig out the plant from the garden or pot and remove all the soil around it.
- Inspect the roots to see if you can spot any mushy roots.
- Using a clean pair of scissors or pruning shears, gently cut off any damaged roots, while taking care not to remove the healthy ones.
- Clean the pot you initially had your plant growing in and let it dry in the sun.
- Fill the pot with fresh potting soil and repot the plant.
- If you removed the plant from the ground, dig out the sand (and surrounding sand where the roots extended). Replace this portion with compost (it’s often sterile) mixed with sand. Then water moderately.
Frequently Asked Questions
If you have any questions or concerns regarding the health of your sedums, leave them in the comments.
How do you take care of sedum?
Here are some tips on how to best take care of sedums:
- Expose the plant to at least six hours of sun.
- Plant the sedum in good draining soil. Use loamy sand when planting in-ground, and use the cactus potting mix when growing in a container.
- Water the plant once a week during spring and summer and once a month during fall and winter.
- It’s best to fertilize sedums with organic or slow-release fertilizer once in spring.
How often should you water sedum?
Sedum doesn’t like soggy soil. So, in winter and fall, water it once a month, and in spring and summer, once a week.
How do you care for potted sedum?
Caring for a potted succulent is way easier than you can imagine. Ensure your pots have enough draining holes to ensure all the water flows out of the container. Use a cactus potting mix as your growing medium because it provides good drainage.
During fall and winter, water your sedum once every three weeks or once a month. You can increase the frequency to once a week in spring and summer. The texture of the soil will tell you whether they need watering or not. Touch the top of the soil, or gently insert your finger in the soil, if it comes out dry, water the plant until it streams out of the pot.
Light is a crucial aspect to consider if you want your plants to thrive. Place your pot in an area that receives up to six hours of sunlight. If growing indoors, you can install artificial lighting and place the plants under this light, or place them next to a windowsill that receives enough sunlight.
Conclusion
Sedums are easy to grow and care for. They do well in well-drained soil and can thrive on minimal watering. Whether you’re cultivating these succulents indoors or in rock gardens, they appreciate a good amount of sunlight for up to six hours.
I’ve found that they bounce back during spring and continue spreading in the garden because the soil they’re housed in is loamy clay sand. So, whether you’re growing these indoors or in the garden, this growing and care guide will help you cultivate sedum plants you’re proud of.
If you have any tips and insights that helped you grow sedum plants, please leave a comment below.

